
Designing Furniture With Tambour Doors: A Guide for Manufacturers
How to design a cabinet, credenza or appliance garage around a tambour door: which way it opens, which profile to use, groove or track, where the open door goes, and how to get from drawing to production.
Designing furniture with tambour doors starts earlier than most fronts. A hinged door is added to a finished carcass; a tambour door shapes the carcass itself, because it needs a path to run in and room to go when it opens. Get those two things into the design early and the rest is straightforward.
This guide is for furniture manufacturers, designers and joiners building cabinets, credenzas, desks and appliance garages with a tambour front. It follows the order we'd work through a new project in.
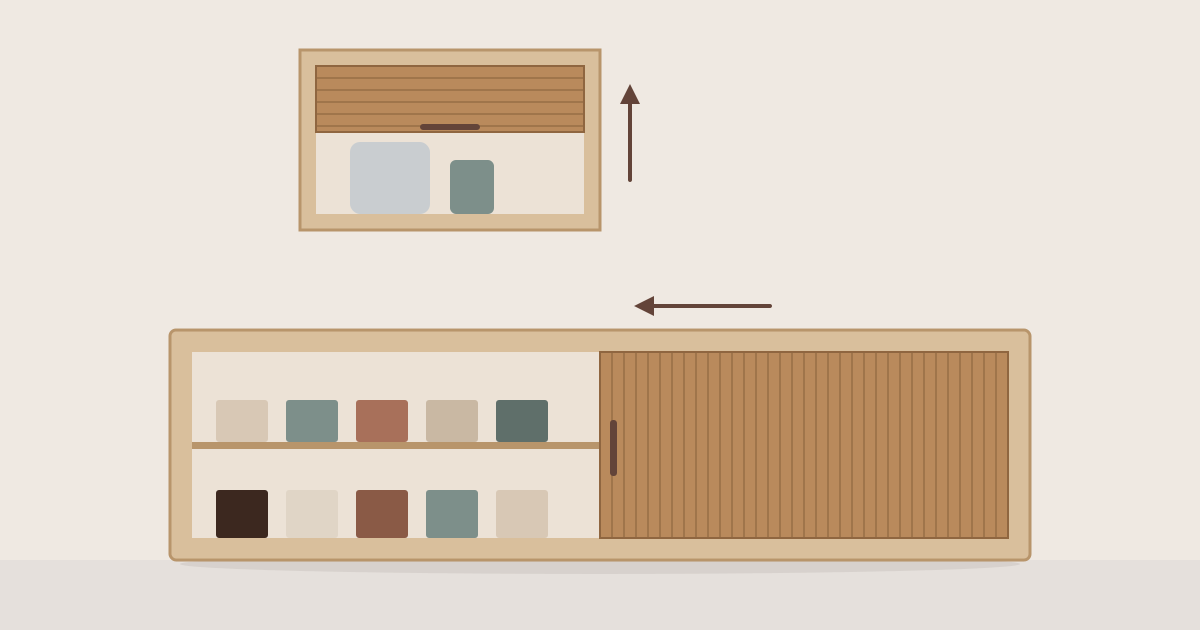
1. Decide which way the door opens
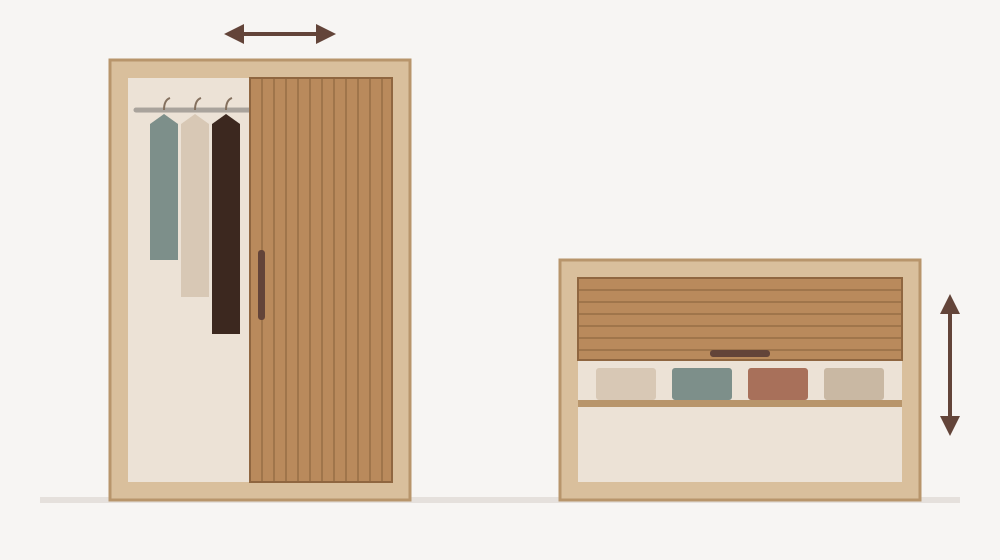
- Vertical installation (roll-up) suits cabinets that open upwards: kitchen appliance garages, tall cabinets and office storage.
- Horizontal installation (side-sliding) suits wide openings: desks, credenzas, reception counters and wide cabinets.
Wardrobes have their own considerations; see our guide to tambour wardrobe doors.
2. Choose the profile
- Signature: smooth, flat slats for a clean, contemporary front.
- Grooved: a ribbed surface with more depth, texture and grip.
Both profiles come in both orientations, so the choice is about the look of the range, not the mechanics.
3. Groove or track?
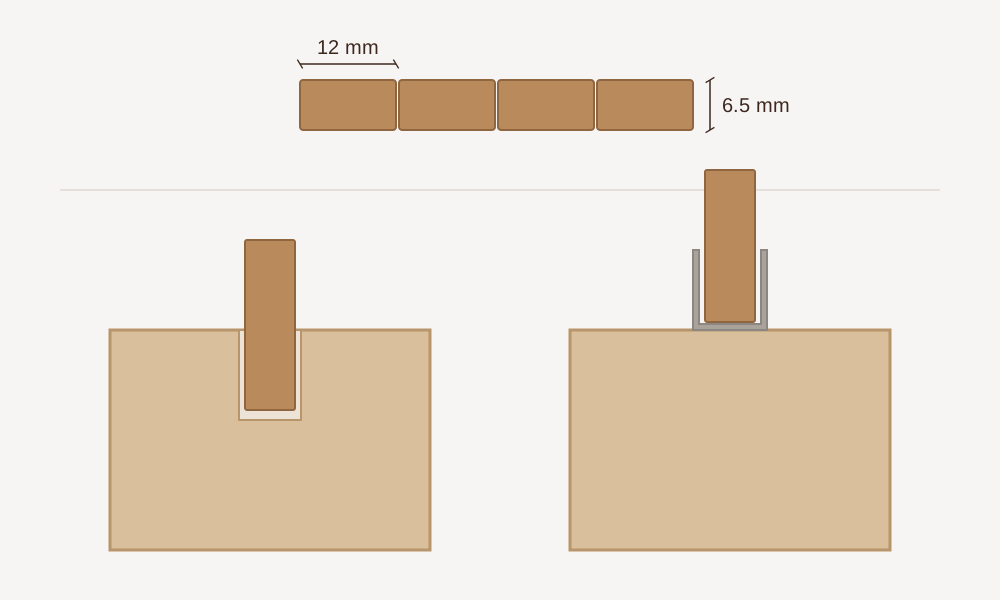
The slat ends run either in grooves milled into the carcass or in sliding tracks:
- Milled grooves give a clean, built-in look with no visible hardware, and suit production runs where the carcass is machined anyway.
- Tracks don't require machining the carcass, which makes them practical for prototypes, small series and retrofits.
The exact groove and track dimensions depend on the profile and the size of the door, and they come with our technical drawings.
4. Plan where the open door goes
A tambour door doesn't fold away; it travels along its path into the cabinet. A side-sliding door turns into the side or back of the carcass, and a roll-up door runs up and back. That path has to stay clear:
- Keep shelves, drawers and dividers out of the door's path inside the carcass.
- Account for the space the open door occupies when you calculate the usable interior.
- Plan the path before fixing the carcass dimensions, not after.
The wardrobe guide has a top-down drawing of a door's path that shows the principle.
5. Check the size
One slat is at most 1200 mm long, so a door is at most 1200 mm wide across its slats. The other direction has no fixed limit: we add slats until the door is as long as you need. Standard formats are 900 × 2200 mm and 1200 × 1200 mm, and custom dimensions and specifications are available for bespoke projects.
Check this against the orientation. On a side-sliding door the slats stand upright, so the 1200 mm limit applies to the door's height. On a roll-up door the slats lie horizontally, so it applies to the width.
6. Pick the wood
Standard wood finishes are oak, ash, birch, beech and walnut, and our stock profile, TD_M6512 (12 mm wide, 6.5 mm thick), comes in oak or birch. More species and custom finishes are available on request, so the door can match the rest of the piece. Read more about why wood tambour doors are worth it.
From drawing to production
- Send us your dimensions or drawing. You get a quote, free and without obligation.
- Technical drawings and design support. We give you the groove or track dimensions and help fit the door into your carcass.
- Prototype, then production. There are no minimum order quantities, so you can start with a single prototype and scale up.
Request a quote for your project.
Design checklist
- Orientation chosen: roll-up or side-sliding
- Profile chosen: Signature or Grooved
- Groove or track decided, dimensions taken from our drawings
- Path of the open door kept clear inside the carcass
- Door size within a standard format, or custom size requested
- Wood species and finish matched to the rest of the piece
Frequently asked questions
Q: Can I prototype before ordering a series?
A: Yes. There are no minimum order quantities, so a single prototype is fine.
Q: Do you supply drawings for my cabinet?
A: Yes. Technical drawings, engineering guidance and design support are included.
Q: Which furniture suits a tambour door?
A: Anything where a swinging door gets in the way: appliance garages, credenzas, desks, office storage, retail displays, and furniture for motorhomes and boats. For more ideas, see 25+ creative ways to use tambour doors.
Q: I'm building one piece for my own home. Can I buy from you?
A: For single projects we work through local partners: find a Scandor partner near you.
Building furniture, motorhomes or boats?
We supply Signature and Grooved tambour doors to manufacturers across Europe. Custom dimensions, technical drawings included, no minimum order.
Buying for a single project? Find a Scandor partner near you
Continue Reading
Why Tambour Doors Are the Perfect Choice for Your Next Furniture Project
When designing modern furniture, cabinetry, or storage solutions, the choice of door mechanism can make or break both the functionality and aesthetic appeal of your piece.
Read article25+ Creative Ways to Use Tambour Doors: Transform Every Room in Your Home
From appliance garages to entertainment centers, discover over 25 innovative applications for tambour doors in kitchens, living rooms, offices, bathrooms, and commercial spaces.
Read article